01The goal
Neon Bastion is a match between 2 to 4 rivals, human or AI. Each of you starts on an island with several bastions, the citadels you build around. Every wave you seal rings of walls around your bastions, arm them with cannons, then fire at your rivals' walls.
The highest score after the last wave wins. If everyone else has been eliminated, the last player standing wins at once.
02Match setup
| Option | Choices |
|---|---|
| Skirmish | You against 1 to 3 AI rivals. Each AI seat has its own difficulty: Easy, Medium or Hard. |
| Local multiplayer | 1 to 4 seats on one screen, any mix of humans and AI. Every human picks an input device. |
| Devices | Mouse and keyboard, a second keyboard player on the arrow keys, and up to 2 gamepads. |
| Waves | 3 / 5 / 7 / 9 (default 7) |
| Map | A new procedurally generated island every match, balanced so no seat gets a worse island. Three themes: Void Sector, Red Expanse, Toxic Rift. |
03The wave loop
A match opens with Selection, then repeats four phases every wave. The first wave has no Build: your opening ring is built for you during Selection, so you go straight to Deploy.
↻ Deploy → Defend → Build → Score repeats every wave
| Phase | Time | What you do |
|---|---|---|
| Selection | 10 s | Choose a starting bastion. A wall ring is raised around it automatically. |
| Deploy | 12 s | Spend energy on cannons and Fortify. Ends early once nobody can afford anything (after a 3 s grace). |
| Defend | 24 s | Aim and fire at rival walls and cannons. Unleash Overdrive. |
| Build | 16 s | Place free wall pieces to repair and seal your rings. Rings are checked when the clock runs out. |
| Score | 4 s | Summary cards for the wave. Points were already paid during the wave. |
04Bastions & rings
A bastion is sealed when an unbroken ring of your walls surrounds it. Sealed bastions are the heart of the game: they pay energy and points every wave, and only sealed ground can hold cannons that fire.
- Walls must meet edge to edge. Two walls that touch only at a corner leave a gap.
- One ring may hold more than one bastion. Each sealed bastion pays separately.
- Bastions themselves cannot be damaged. Shots fly straight through them.
- During Defend a ring that loses a wall stays sealed. At the start of Build broken rings are checked again and lose their seal.
- At the end of Build you need at least one sealed bastion, or you take a strike (see Strikes).
05Selection
Once per match, every player picks one of the bastions on their island within 10 seconds. A ring of walls is built around your pick automatically, so wave 1 starts sealed and goes straight to Deploy.
Every match starts with 120 energy, enough for three Rapids.
06Build
Build is a 16-second race to repair what the last Defend broke and to seal new ground. Wall pieces are free; time is the only limit.
Pieces
The I, J, L, O, S and T tetrominoes plus the Dot and the Corner are in play from wave 1. The Z and the five-tile Plus join from wave 5.
The bag, next and hold
- Each player draws from a shuffled bag that holds every unlocked piece exactly once. When it empties it is refilled and reshuffled, so you never wait long for the piece you need.
- The next two pieces float beside your cursor. The bag, your piece in hand, your next two and your hold slot carry over between waves.
- Hold stashes the piece in hand (or swaps it with the held one). You can hold once per piece drawn.
- Rotate clockwise or counter-clockwise.
Placement rules
- A piece may not overlap a wall, a bastion core or a cannon.
- It must touch one of your own walls edge to edge (or your bastion, if you have no walls at all).
- It may not be placed inside an area that is already sealed.
- A green ghost means valid, red means blocked, and gold means this placement will seal a new ring. The ground it would enclose shimmers.
Gap markers and craters
At the start of Build, every hole punched in your rings pulses with corner brackets in your colour until a wall covers it. A wall destroyed during Defend leaves a scorched crater; all craters clear when Build begins, so you can rebuild on them straight away.
07Deploy
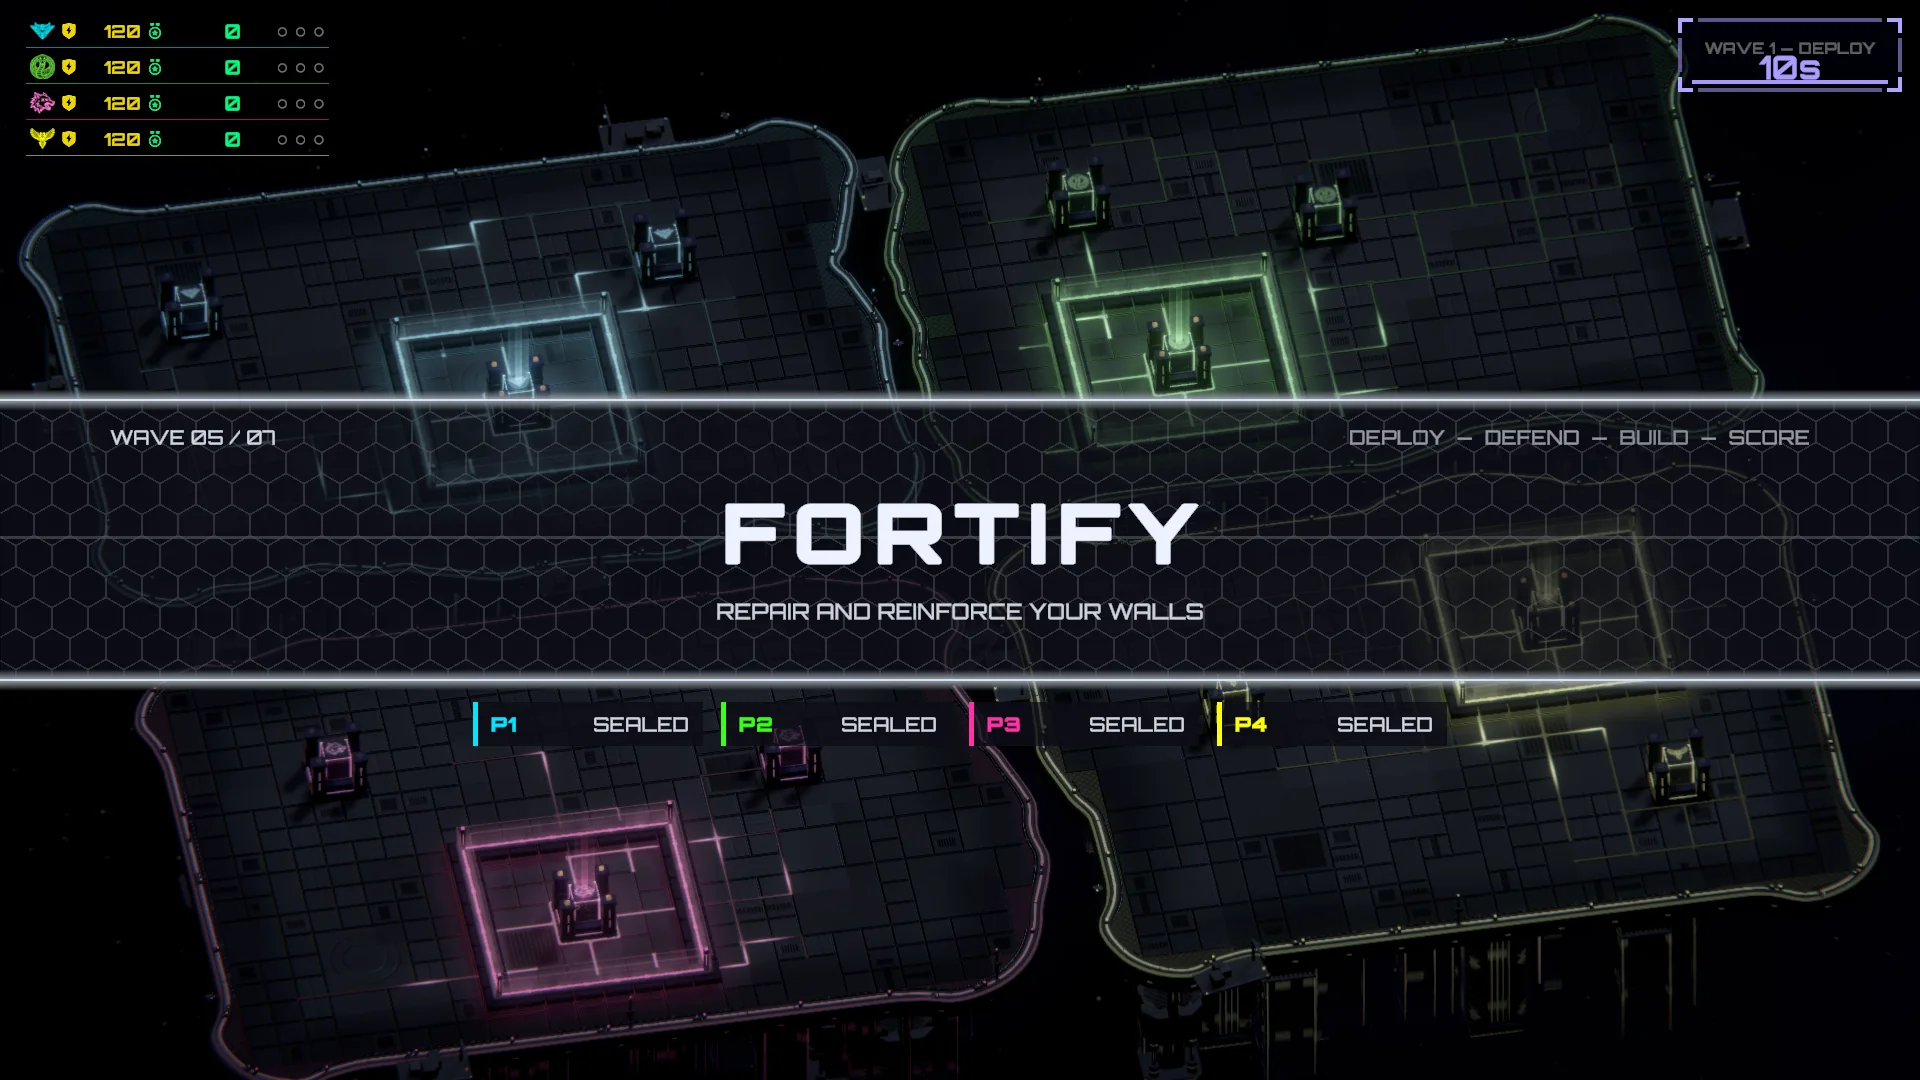
Deploy is where energy turns into firepower. Every cannon is 2×2 and must stand on empty tiles inside one of your sealed rings. Cannons outside a sealed ring go dark and cannot fire. You can place as many as your energy allows.
Cannons
| Cannon | Cost | From | Damage | Reload | How it flies |
|---|---|---|---|---|---|
| Rapid | 40 E | Wave 1 | 60 | 1.0 s | Fast, low lobbed arc. Hits the first wall or enemy cannon in its path. Up to 2 shots in flight per cannon. |
| Mortar | 70 E | Wave 2 | 60 + 30 | 2.5 s | Very high, slow arc over everything. Lands exactly on the aim point and splashes 30 on the 8 tiles around it. |
| Lance | 100 E | Wave 3 | 100 / tile | 3.0 s | Flat, fast beam. Pierces up to 3 enemy wall tiles in a line and carries 2.5 tiles past the aim point. Passes your own walls; an enemy cannon stops it. |
From above, a Rapid is a single dark barrel, a Mortar a round launch tube and a Lance a glowing twin-rail fork.
Fortify
Fortify costs 30 energy, unlocks at wave 2 and can be bought once per wave. Pick one of your sealed bastions: for the next Defend the walls of its ring, both layers of a thick wall, hold 160 HP instead of 100. They show a second, wider energy layer. After Defend every wall returns to 100 HP.
The selector
In Deploy the rotate buttons cycle Rapid → Mortar → Lance → Fortify. Over your cursor you see the selected item and its cost, a strip of every item (locked ones show their unlock wave) and how many more you can afford. With Fortify selected, the cursor locks onto your nearest sealed bastion.
Garrison bonus
A bastion core is 2×2, exactly the size of a cannon, so eight cannons fit around it. Fill all 8 slots around one of your cores and every one of your cannons fires 20% faster. Your emblem lights up on the barrels. The bonus stacks with Overdrive and is lost as soon as one of the eight is destroyed.
08Defend
For 24 seconds every player fires at will. You move a reticle with the mouse, the arrow keys or a stick. It locks onto the enemy wall tile or enemy cannon under it, and your cannons turn to follow.
- Each press of fire launches your next ready cannon, in turn. More cannons means a faster barrage.
- Only cannons standing inside a sealed ring fire. A ring breached during this Defend still counts as sealed until Build starts.
- Shots pass through bastions and through your own cannons. Rapid and Mortar shots can damage your own walls, which never scores. The Lance passes your own walls.
- About a second after Defend ends, every damaged wall is repaired to full. Only destroyed walls must be rebuilt.
Walls
A wall tile has 100 HP (160 when fortified). It darkens and flickers as it takes damage. Every enemy wall tile you destroy pays 15 points (× wave multiplier) and 3 energy on the spot.
Cannons
Cannons have 300 HP. Their trim dims at two thirds and they smoke at one third. Destroying an enemy cannon pays 40 points (× wave multiplier) and 10 energy. Walls protect cannons only partly: a lobbed shot that clears the outer wall can still come down on a cannon inside. Splash never damages cannons, but a Mortar shell landing directly on one hits it in full.
Shots to destroy
| Target | Rapid | Mortar (direct) | Lance |
|---|---|---|---|
| Wall · 100 HP | 2 | 2 | 1 |
| Fortified wall · 160 HP | 3 | 3 | 2 |
| Wall in your Overdrive | 1 | 1 | 1 |
| Cannon · 300 HP | 5 | 5 | stops the beam |
09Overdrive
From wave 2 every player has an Overdrive meter of 60. It fills during Defend:
| Event | Charge |
|---|---|
| You hit an enemy wall or cannon | +1 |
| You destroy an enemy wall | +1 |
| You destroy an enemy cannon | +2 |
| You lose a wall | +2 |
| You lose a cannon | +4 |
Every charge is multiplied by the wave multiplier, so later waves charge faster. Losing your own walls charges you more than hitting theirs: the player under fire gets the comeback.
When the meter reads READY, unleash it whenever you want. For 5 seconds:
- your cannons fire ×1.6 faster;
- your shots deal ×1.7 damage to walls, so a single Rapid shot destroys a fresh wall;
- Rapid shots splash onto the four neighbouring tiles;
- holding fire launches every ready cannon at once.
The meter doesn't charge while the burst runs, and every meter empties when Defend ends. Use it or lose it.
10Energy
Energy buys cannons and Fortify. It carries over between waves and has no cap.
| Source | Energy | When |
|---|---|---|
| Starting energy | 120 | Match start |
| Base income | 20 | End of every Build, for every active player |
| Sealed bastion | 40 each | End of every Build |
| Enemy wall destroyed | 3 | Instantly, in Defend |
| Enemy cannon destroyed | 10 | Instantly, in Defend |
| Hits on the crowned leader | ×2 | See The crown |
| Recovery grant | 160 | After Recovery (see Strikes) |
11Scoring
Points decide the winner. Every point award is multiplied by the wave multiplier: 1 + 0.1 × wave. Wave 1 pays ×1.1, wave 7 pays ×1.7. Late waves matter more.
| Award | Base points | When |
|---|---|---|
| Sealed bastion | 100 each | End of Build |
| Territory | 8 per tile | End of Build, for every tile inside your sealed rings |
| Perfect defense | 50 | End of Build, if no enemy shot hit your walls in Defend and you hold a sealed bastion |
| Enemy wall destroyed | 15 | Instantly, in Defend |
| Enemy cannon destroyed | 40 | Instantly, in Defend |
| Breach | 120 per ring | Start of Build, split between the attackers who broke the ring, by walls destroyed |
| Bounty | ×2 | Walls and cannons of the crowned leader pay double |
Breach
At the start of Build every ring that was broken in Defend is checked. Each broken ring pays a breach bonus once, even if it held two bastions. It is shared between the players who destroyed walls of that ring, in proportion to how many each destroyed. A ring its owner broke alone pays nobody. A "BREACH" stamp marks the island.
Score cards
In the Score phase each player's wave is broken down into territory, bastions, walls, cannons, breach, crown and defense, with the new total and energy at the bottom.
12The crown
The score leader wears a gold crown while they are strictly first and ahead of second place by more than 10% and at least 50 points. Ties, or fewer than two active players: no crown.
While someone wears the crown, every one of their walls and cannons pays the attacker ×2 points and energy. The crown floats over the leader's bastion and a "BOUNTY" callout announces every change of hands. The AI notices it too.
13Strikes & Recovery
When Build ends, every player must hold at least one sealed bastion.
- Fail the check and you take a strike. Pass it and your strike count resets to zero.
- 3 strikes in a row and you are eliminated.
- After a strike that doesn't eliminate you, you go into Recovery: your walls, cannons and bastion claim are cleared, you pick a new bastion, a fresh ring is built around it, and your energy is replaced by a Recovery grant of 160.
- There is no Recovery on the last wave or in Sudden Death.
The strike pips sit on your player card. A reset turns them white before they fade back to empty.
14Winning
- Last player standing: when every other player has been eliminated, the match ends at once.
- Final score: otherwise, after the last wave the highest score wins.
- Sudden Death: a tie for first triggers up to 3 extra waves.
- Tiebreak: still tied after that? Most enemy walls destroyed, then most rounds won (highest score in a wave), then fewest strikes.
The Victory screen shows the final ranking, each player's rounds won and a chart of every player's score wave by wave.
15Controls
| Action | Mouse & keyboard | Keyboard (2nd player) | Gamepad |
|---|---|---|---|
| Move cursor / aim | Mouse | Arrow keys | Stick or D-pad |
| Place / confirm / fire | Left click | Enter | A (fire also RT) |
| Rotate clockwise · next item | E or Right click | Right Shift | B |
| Rotate back · previous item | Q | Right Ctrl | X |
| Hold piece (Build) | Tab | / | Y |
| Overdrive (Defend) | Space | / | Y |
In Deploy the rotate buttons cycle the cannon selector. In-game, How To Play walks through every phase with animated diagrams.
16AI rivals
AI seats play by exactly the same rules as you: the same piece bag and hold, the same placement checks, the same costs and unlocks. They get no free walls and no extra energy.
| Difficulty | How it plays |
|---|---|
| Easy | Builds slowly, picks cannons without reading your fortress and never fortifies. A good first opponent. |
| Medium | Picks Mortars against thick walls and Lances against long straight runs, chases the crown and fortifies after heavy losses. |
| Hard | Reads your walls fully, goes for single-layer weak spots on the leader, builds toward the garrison bonus and holds Overdrive for the right moment. |
17Glossary
- Bastion
- A 2×2 citadel core on your island. Seal it to make it pay.
- Ring
- A closed loop of your walls. Seals everything inside it.
- Sealed
- Enclosed by an unbroken ring. Only sealed bastions pay and only sealed ground holds working cannons.
- Breach
- A broken ring. Pays a bonus to whoever broke it.
- Strike
- Ending Build with no sealed bastion. Three in a row eliminates you.
- Recovery
- A restart on a new bastion after a strike.
- Garrison
- All eight cannon slots around one core filled: +20% fire rate.
- Fortify
- One ring's walls hold 160 HP for the next Defend.
- Overdrive
- A 5-second burst of faster, harder fire.
- Crown
- Marks a clear score leader. Their walls and cannons pay double.
- Wave multiplier
- 1 + 0.1 × wave, applied to every point award.
- Sudden Death
- Extra waves played to break a tie for first.